PassPing - Documentation
Screenshots
Install Wallet Pass
- Open PassPing website on your iPhone or Safari on macOS.
- Enter website that you want to monitor and click Create pass.
- Tap the “Add to Apple Wallet” button or Scan QR code with Camera app.
- Confirm to add the pass. It will now appear in your Apple Wallet app.
Sharing Wallet Pass
You can share the pass with teammates, clients, or anyone interested in the uptime status of your website:
- Copy the same PassPing monitor link you used.
- Send it to others – they can add the pass to their own Wallet.
or
- Open Wallet app, select PassPing monitor that you want to share.
- Tap the "Share” icon and select way that you want to share (AirDrop / Messages).
Anyone with the pass will receive live push updates.
Notifications
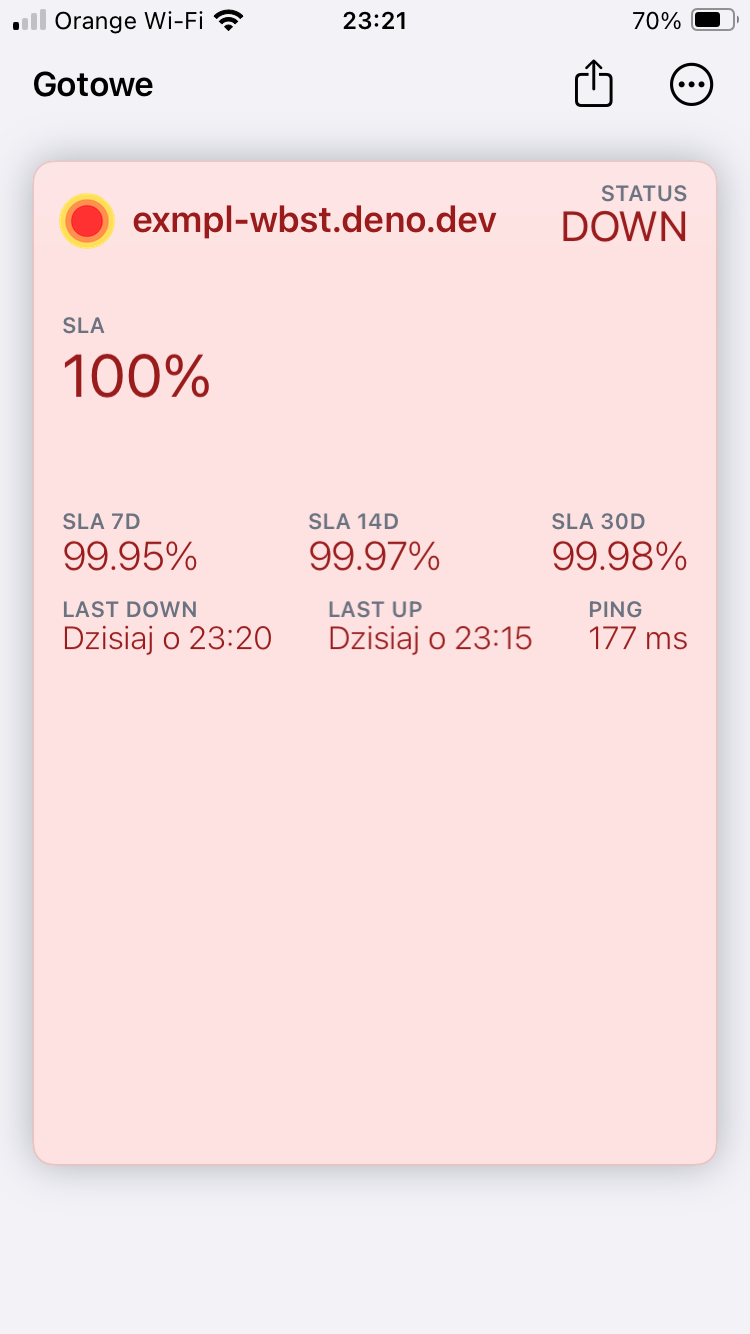
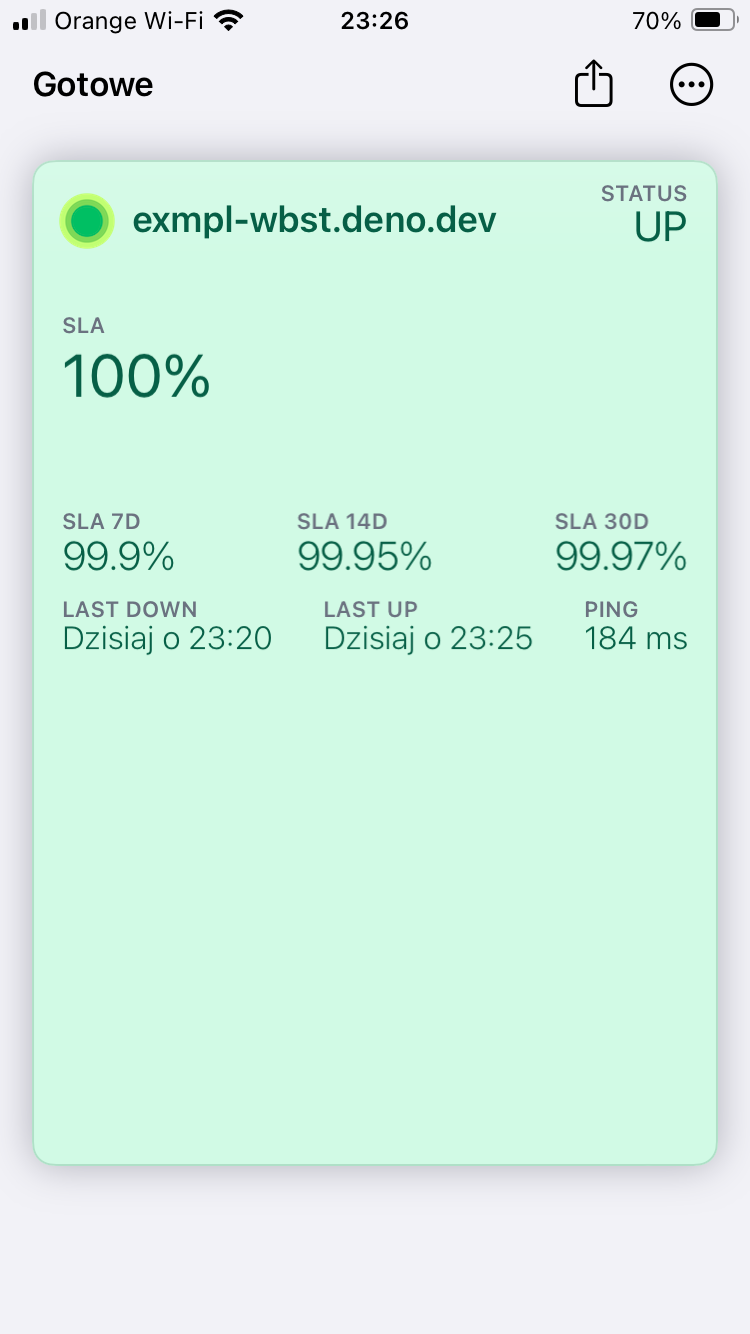
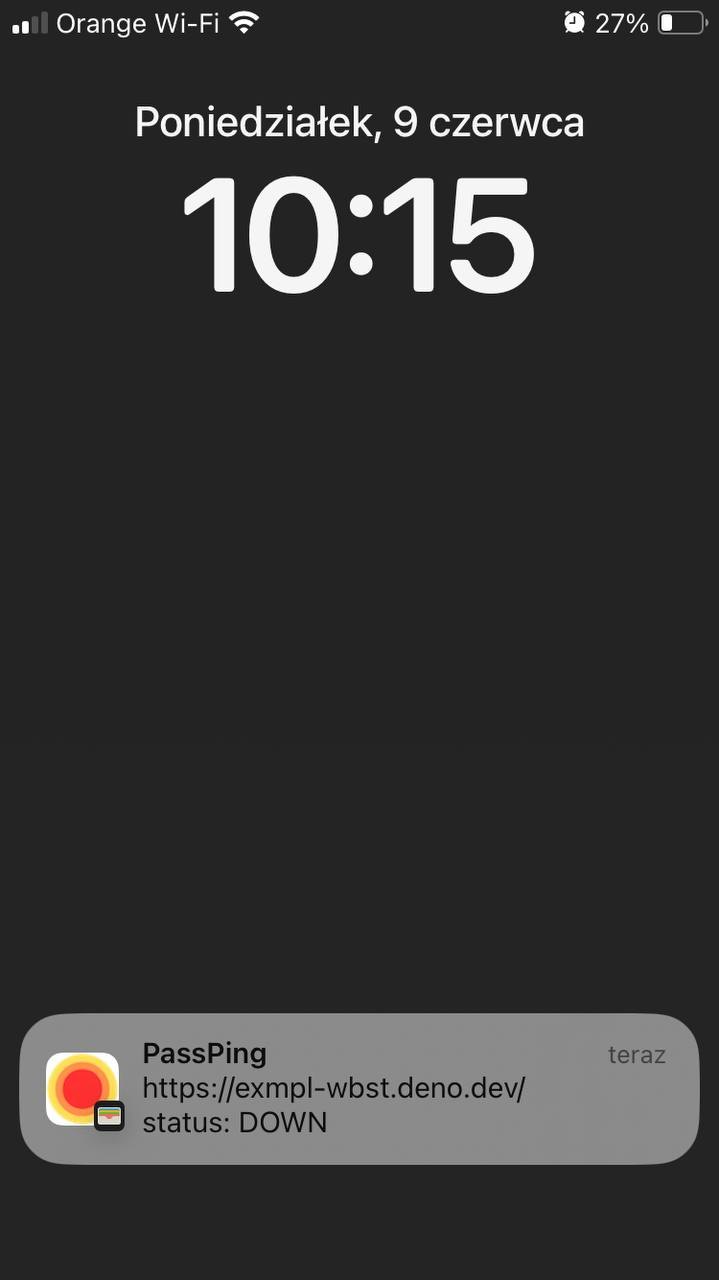
The Wallet pass displays live uptime status and sends push notifications when the status changes:
- UP: Green color card + notification message contains "UP"
- DOWN: Red color card + notification message contains "DOWN"
Updates are pushed natively through Apple Wallet.
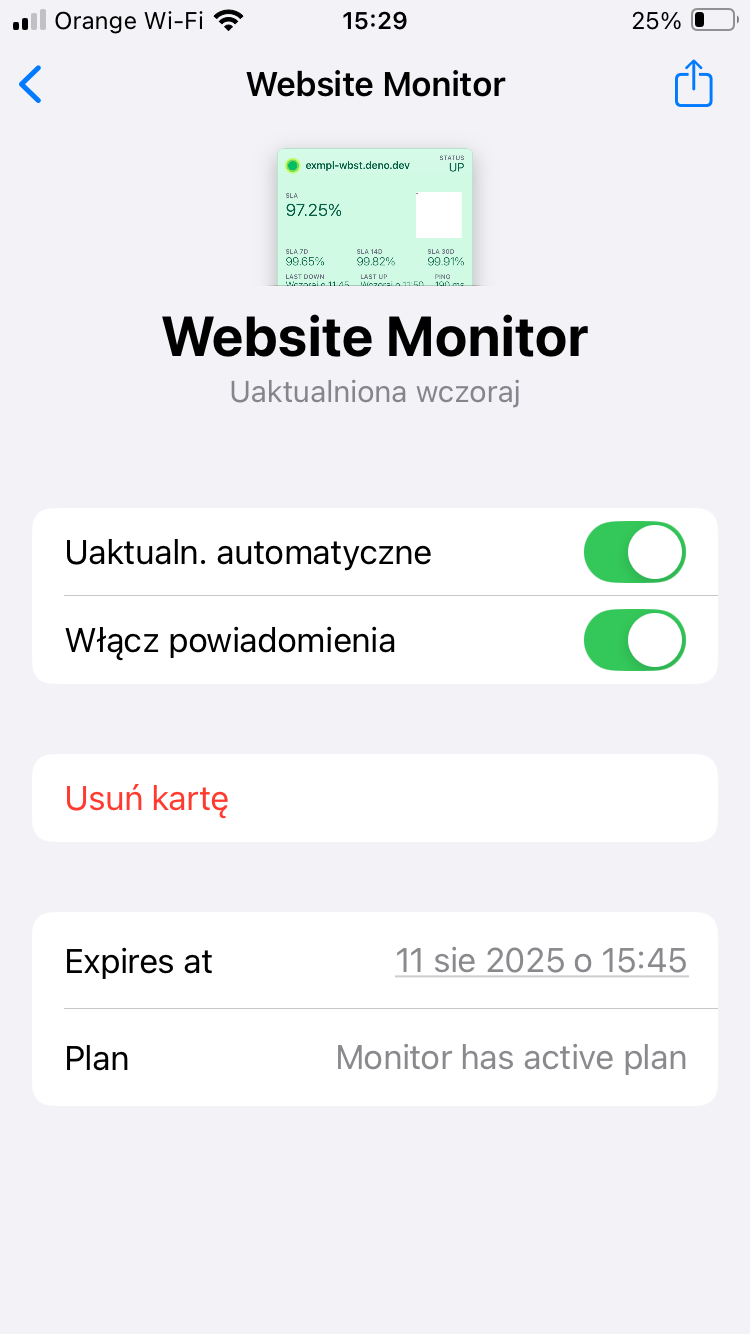
Pricing & Prolong Monitor Activity
Each monitor remains active for a limited time. To prolong it:
- Open the Wallet pass on your iPhone.
- Tap the “⋯” or “i” icon and select “Details.”
- 7 days before the pass expires, you will see a “Prolongate payment link.”
During early access: Clicking this link will extend your monitor by 1 month – no payment required.
After early access, this link will redirect to a paid prolongation page.
Remove Wallet Pass
To stop receiving updates or remove a pass:
- Open the Wallet app on your iPhone.
- Locate the PassPing card.
- Tap the “⋯” or “i” icon and select “Remove Pass.”
Invoices
If you make a payment to prolong your monitor after early access, you will automatically receive an invoice to the email used during checkout.
Need a custom invoice (with VAT or business details)? Just contact us with your transaction ID.
Server permissions
Make sure your server accepts User-Agent: Uptime-Checker/1.0
Contact
Have a question, found a bug, or need help?
- Email: [email protected]